


Introduction
As the warm breeze of spring dances through the air, the sweet aroma of chocolate fills my kitchen, weaving itself into the joyous atmosphere of Easter. The moment I dip the first strawberry into the melting white chocolate, it always takes me back to Sunday dinners, where our family gathered around the table, sharing laughter and sweet treats. This is why I adore making these Easter Chocolate-Covered Strawberries—they bring smiles to everyone’s faces and make for the perfect treat during Easter gatherings!
Why You’ll Love This
- Quick to prepare: Whip them up in about 30 minutes!
- Colorful and festive: Perfect for brightening up your Easter table.
- Kid-approved: Fun to make and even more fun to eat!
- Simple ingredients: You likely have these in your pantry already.
- Customizable: Use any colors or designs that inspire you.
Quick Recipe Snapshot
- Servings: Approximately 24 strawberries
- Prep time: 20 minutes
- Cook time: 10 minutes
- Total time: 30 minutes
- Skill level: Easy
- Taste: Sweet + creamy
You’re going to love how easy and delightful these Easter Chocolate-Covered Strawberries are to make!
Ingredients You’ll Need
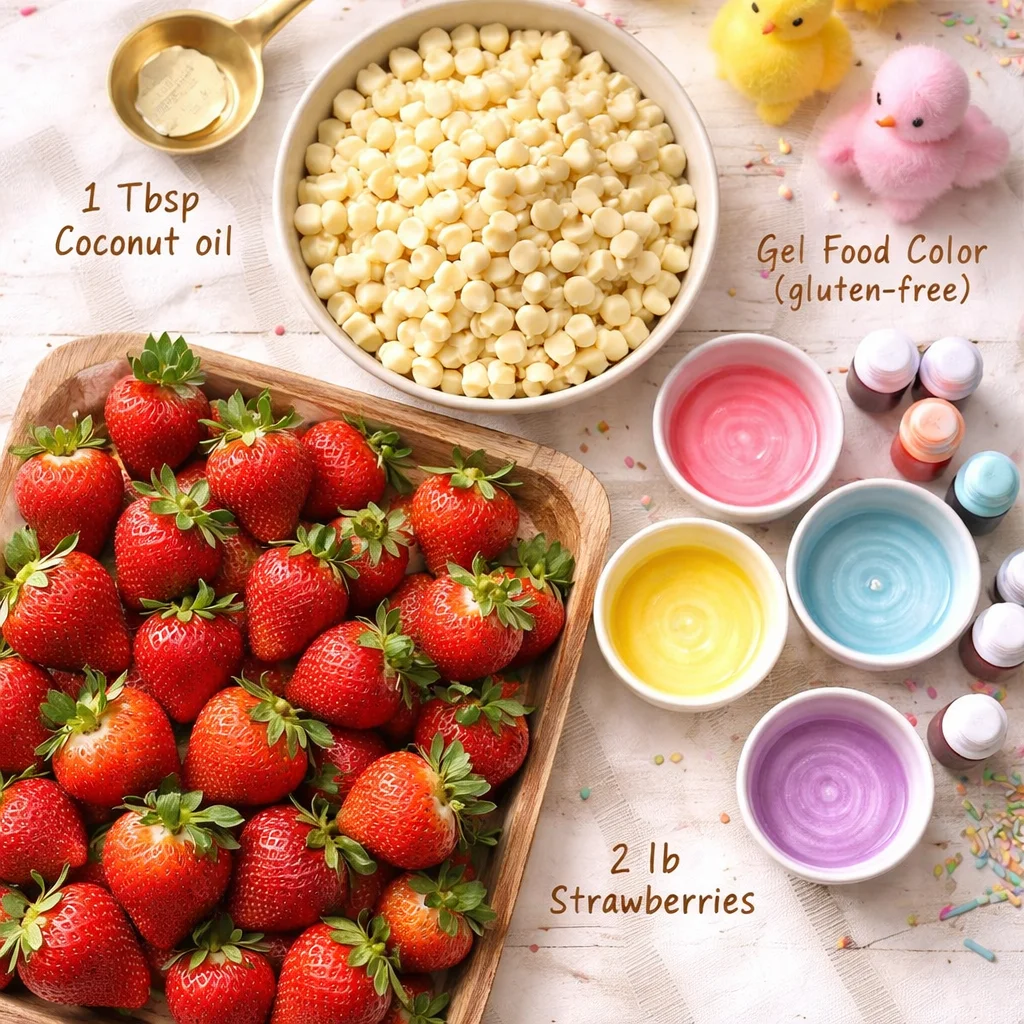
- 12 oz White Chocolate Chips
- 1 tablespoon Coconut Oil (divided)
- 2 lb Strawberries (washed and fully dried)
- Gel Food Color (Betty Crocker Gel Food Color is labeled gluten-free)
Chef Notes:
- “Use fresh strawberries for better flavor.”
- “Coconut oil helps the chocolate melt smoothly.”
- “Opt for quality chocolate chips for a richer taste.”
How to Make It
- Prepare your workspace: Line a baking sheet with parchment or wax paper and set it aside.
- Color your coconut oil: Divide the coconut oil into 3 small microwave-safe bowls, using 1 teaspoon in each. Add 4-6 drops of your favorite Easter gel food colors to each bowl. Stir well with a fork until they are vibrant and mixed.
- Melt the chocolate: In a microwave-safe container, melt the white chocolate chips for 30 seconds. Stir, then heat in 15-20 second intervals, stirring each time, until fully melted and silky.
- Color the chocolate: Pour the melted white chocolate into the bowls of colored coconut oil. Mix it with a fork until it’s all integrated and colorfully blended.
- Dip the strawberries: Take about a third of the strawberries and dip them into one of the colored chocolates, using the leafy part as a handle. Let the excess chocolate drip back into the bowl. Place them on the parchment paper to dry. If the colors start to harden, simply reheat them gently.
- Create a drizzle effect: Cut a small tip off 3 plastic sandwich bags to use as piping bags. Reheat the chocolate for 15 seconds before filling the bags with one color at a time. Drizzle each color over half of the contrasting-colored strawberries. Do this for all the colors.
- Harden & serve: Let the strawberries cool completely, about 10 minutes. Serve them up and enjoy the smiles!
Kitchen Tips (From My Kitchen)
- Time-saver: Melt the chocolate in short bursts, so it doesn’t burn—it saves time on cleanup!
- Common mistake: Don’t rush the melting process; burnt chocolate won’t give you that silky finish.
- Variation: Try adding a sprinkle of sea salt on top of the chocolate for a sweet-savory twist!
Serving Ideas
- Serve these beauties at an Easter brunch alongside fluffy pancakes.
- Place them on a dessert platter for a festive holiday gathering.
- They also work beautifully as a spring garden party treat!
- Consider adding them to a chocolate fondue spread for even more fun.
Storing & Leftovers
- Fridge storage: Keep them in an airtight container for up to 4 days.
- Freezer option: Not recommended, as they may lose their texture.
- Reheat method: If stored in the fridge, enjoy them cold or bring to room temperature.
If you have leftovers, chop them up and toss them into a salad for a sweet surprise!

Easter Chocolate-Covered Strawberries
Ingredients
Method
- Line a baking sheet with parchment or wax paper and set it aside.
- Divide the coconut oil into 3 small microwave-safe bowls, using 1 teaspoon in each. Add 4-6 drops of your favorite Easter gel food colors to each bowl. Stir well with a fork until vibrant.
- In a microwave-safe container, melt the white chocolate chips for 30 seconds. Stir, then heat in 15-20 second intervals, stirring each time, until fully melted and silky.
- Pour the melted white chocolate into the bowls of colored coconut oil. Mix it with a fork until all is integrated and colorfully blended.
- Take about a third of the strawberries and dip them into one of the colored chocolates, using the leafy part as a handle. Let the excess chocolate drip back into the bowl and place them on the parchment paper to dry.
- If the colors start to harden, reheat them gently.
- Cut a small tip off 3 plastic sandwich bags to use as piping bags. Reheat the chocolate for 15 seconds before filling the bags with one color at a time. Drizzle each color over half of the contrasting-colored strawberries.
- Let the strawberries cool completely, about 10 minutes. Serve them up and enjoy the smiles!
Notes
FAQs
- Can I make them ahead? Yes, you can prepare them a day in advance; just store them properly in the fridge.
- What if I can’t find food gel colors? You can use regular food coloring, but make sure it’s not too watery.
- How to know they’re done? The chocolate should be fully set and hard, with a nice sheen.
- Can I freeze them? Freezing is not ideal, as it can affect their taste and texture.
Final Thoughts
I encourage you to dive into this delightful Easter tradition and make your own Easter Chocolate-Covered Strawberries. Experiment with different colors and designs that reflect your personality—it’s all part of the joy! This sweet treat is sure to create cherished memories around your table. So grab your strawberries, and let the dipping adventure begin!
Conclusion
I hope you enjoy making these festive treats as much as I do. For more fun ideas, check out this Easter Egg Chocolate Covered Strawberries Recipe or add a twist with this Easter Chocolate Covered Strawberry. Happy Easter baking!


Leave a comment