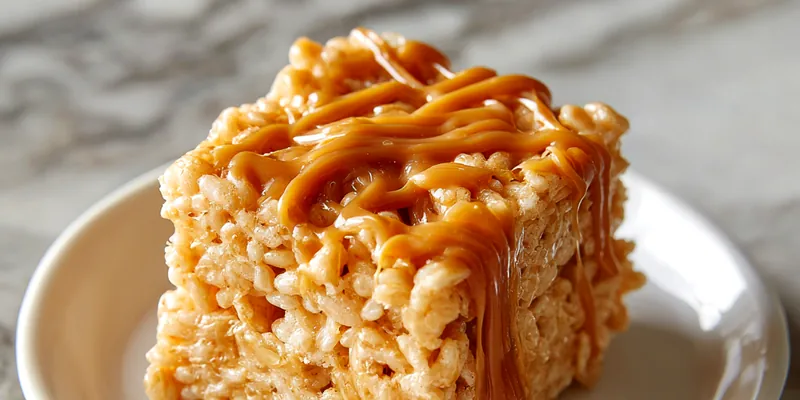
Salted Caramel Rice Krispie Treats
These Salted Caramel Rice Krispie Treats transform a nostalgic childhood favorite into an elegant, grown-up dessert that's still wonderfully simple to make. The combination of gooey marshmallow, crispy cereal, and rich homemade salted caramel creates layers of flavor and texture that will have everyone asking for the recipe. Perfect for potlucks, bake sales, or whenever you need an impressive treat that comes together in just 15 minutes of active time.

Why These Are the Best Rice Krispie Treats
The difference between good and great Rice Krispie treats comes down to technique and balance. Most recipes use too much marshmallow, resulting in treats that are overly sweet and lacking that essential crispy texture. By using the perfect ratio of cereal to marshmallow and working quickly while the mixture is warm, we create treats that hold together beautifully while maintaining plenty of crispy texture in every bite.
The homemade salted caramel takes these from simple to spectacular. While store-bought caramel sauce is convenient, making your own allows you to control the sweetness and salt level perfectly. The slight bitterness from properly caramelized sugar balances the sweet marshmallow base, while flaky sea salt adds bursts of savory contrast that make these treats genuinely addictive.
💡 Professional Tip
Always use fresh marshmallows—stale ones won't melt properly and will create dense, hard treats. Work quickly once you add the cereal to the melted marshmallow mixture, as it sets up fast.
Frequently Asked Questions
Yes! Rice Krispie treats stay fresh for up to 3 days at room temperature when stored in an airtight container with parchment paper between layers. The caramel will soften slightly over time but still tastes delicious. For best texture, add the caramel drizzle the day you plan to serve them.
Absolutely! You'll need about 40 regular marshmallows to equal 10 ounces. Mini marshmallows melt faster and more evenly, but regular marshmallows work fine—just cut them in half with kitchen scissors to help them melt more quickly and evenly.
This usually happens from overcooking the marshmallow mixture or pressing too firmly when shaping. Melt marshmallows on medium-low heat just until smooth, and use a light touch when pressing into the pan. Buttered hands or lightly oiled wax paper helps prevent compressing the mixture too much.
Yes, you can use store-bought caramel sauce if you're short on time. Look for a high-quality brand and warm it slightly before drizzling. Add extra flaky sea salt on top to enhance the salted caramel flavor. However, homemade caramel has better flavor and texture and only adds 10 minutes.
Watch for a deep amber color similar to copper pennies. The sugar will go from clear to light gold to amber fairly quickly. Don't walk away—it can burn in seconds. When you see medium amber color, remove it immediately from heat. The caramel will continue darkening slightly from residual heat.
These treats are rich enough to stand alone, but they're fantastic with vanilla ice cream, cold milk, or hot coffee. For parties, serve alongside fresh fruit like strawberries or apple slices to balance the sweetness. They also pair beautifully with a cheese board featuring sharp cheddar or aged gouda.
Definitely! Stir in 1/2 cup chocolate chips or peanut butter chips into the marshmallow mixture before adding the cereal. You can also drizzle melted chocolate over the caramel layer. For peanut butter lovers, swirl 1/4 cup creamy peanut butter into the melted marshmallows.
Store in an airtight container at room temperature for up to 3 days. Place parchment paper between layers to prevent sticking. Don't refrigerate—this makes them hard and the caramel will crystallize. If you live in a humid climate, store in a cool, dry place to keep them crispy.
Recipe Troubleshooting Guide
Treats Won't Hold Together
Problem: The bars are falling apart or crumbling when you cut them.
Solution: You likely didn't use enough marshmallow or didn't fully melt it. Make sure marshmallows are completely melted with no lumps remaining. Also, work quickly and press firmly (but not too firmly) while the mixture is still warm to help everything bind together properly.
Treats Are Too Hard
Problem: The finished treats are rock-hard instead of chewy.
Solution: This happens from overheating the marshmallow mixture or cooking too long. Use medium-low heat and remove from heat as soon as marshmallows are melted. Stale marshmallows can also cause this—always use fresh ones. Next time, try reducing heat and stirring gently but constantly.
Caramel Is Grainy or Crystallized
Problem: The caramel has a gritty, crystallized texture instead of smooth.
Prevention: Sugar crystals formed during cooking. To prevent this, don't stir once the sugar dissolves—just swirl the pan occasionally. Make sure your pan is completely clean before starting. If crystals form, add a tablespoon of corn syrup or a squeeze of lemon juice to help prevent crystallization.
Caramel Is Too Thin
Problem: The caramel runs off the treats instead of creating a nice drizzle pattern.
Recovery: Let the caramel cool for 5-10 minutes after making it. It will thicken as it cools. If it's still too thin, return it to low heat and cook for another minute or two to evaporate more moisture. Test the consistency on a cold plate before drizzling.
Treats Are Sticking to the Pan
Problem: Can't remove the treats from the pan without them tearing.
Prevention: Always line your pan with parchment paper with overhang on two sides for easy lifting. Spray the parchment lightly with cooking spray. Let treats cool completely before attempting to remove—warm treats will stick and tear. Use the parchment overhang as handles to lift the entire block out.
Flavor Balance Issues
Too Sweet: If too sweet, increase the salt in both the base and caramel. Add an extra pinch of fine sea salt to the marshmallow mixture and use a full teaspoon of flaky salt in the caramel.
Too Salty: If too salty, reduce the salt in the caramel to 1/4 teaspoon and use less flaky salt for topping. Balance with an extra drizzle of unsalted caramel.
Bland: If lacking flavor, add 1/2 teaspoon vanilla extract to the marshmallow mixture and ensure your caramel reaches proper deep amber color for maximum flavor complexity.

Ingredient Selection Guide
The quality of your ingredients directly impacts the final result. Use name-brand Rice Krispies cereal rather than generic versions—the texture and toasting level make a difference in both flavor and structure. Fresh marshmallows are essential; check the date on the bag and give them a squeeze to ensure they're soft and pliable. Stale marshmallows won't melt properly and create dense, tough treats.
For the caramel, use good-quality granulated sugar and real heavy cream with at least 36% fat content. Light cream or half-and-half won't create the same rich, velvety texture. The flaky sea salt is worth seeking out—Maldon or Jacobsen are excellent choices. Regular table salt dissolves too quickly and doesn't provide those delightful crunchy bursts of salinity that make this recipe special.
Essential Ingredient Notes
- Marshmallows: Always use fresh marshmallows—they should feel soft and squishy, not hard. Mini marshmallows melt faster and more evenly than regular size. Store them in an airtight container in a cool, dry place to maintain freshness.
- Butter: Use unsalted butter so you can control the salt level precisely. European-style butter with higher fat content (82% versus 80%) creates richer flavor. Make sure butter is at room temperature for the marshmallow mixture but can be cold for the caramel.
- Heavy Cream: Warm the cream before adding to hot caramel to prevent excessive bubbling and temperature shock. Use cream with at least 36% fat for the silkiest caramel texture. Don't substitute with milk or light cream—you need the fat for proper consistency.
Mastering the Technique
The key to perfect Rice Krispie treats is working quickly and using gentle heat. Melt the butter and marshmallows over medium-low heat, stirring constantly to prevent scorching. The moment the marshmallows are completely smooth with no lumps, remove from heat immediately—overcooking creates a candy-like texture rather than soft, chewy treats. Have everything measured and ready before you start since the mixture sets up quickly.
Making caramel requires patience and attention. Don't stir the sugar water mixture once it starts boiling—swirling the pan is enough. Watch carefully as it transitions from clear to amber, remembering that it continues cooking from residual heat even off the burner. When adding cream, pour slowly and whisk constantly as it will bubble dramatically. The finished caramel should coat the back of a spoon and drizzle in a thick ribbon.
The Caramelization Process
Caramelizing sugar is a precise chemical process where sucrose breaks down into hundreds of flavor compounds. Heat the sugar-water mixture without stirring to prevent crystallization. As water evaporates, temperature rises and sugar molecules break apart and recombine, creating that characteristic amber color and complex flavor. The darker the caramel, the less sweet and more bitter-complex it becomes. For salted caramel, aim for medium to dark amber for the best balance of sweetness and depth.
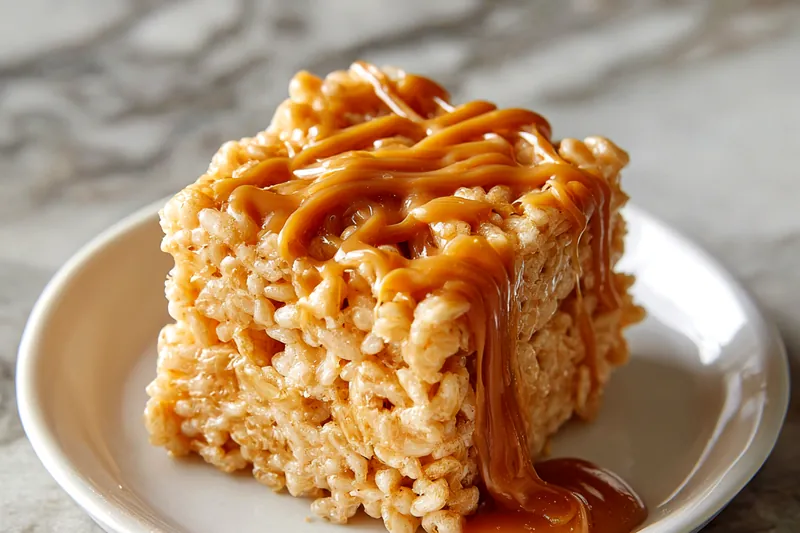
Salted Caramel Rice Krispie Treats
📋 Ingredients
For the Treats
- 1 cup granulated sugarRegular white sugar works best for clear caramel color
- 1/4 cup waterHelps dissolve sugar evenly before caramelizing
- 1/2 cup heavy cream, warmedWarm in microwave for 30 seconds before adding to prevent seizing
- 2 tablespoons unsalted butterAdds richness and helps create silky texture
- 1 teaspoon vanilla extractPure vanilla enhances caramel flavor complexity
- 1/2 teaspoon flaky sea salt, plus more for toppingMaldon or Jacobsen salt provides best texture and flavor
For the Salted Caramel
- 6 cups Rice Krispies cerealMeasure after pouring, not by pressing down into measuring cup
- 4 tablespoons unsalted butterRoom temperature butter melts faster and more evenly
- 10 ounces mini marshmallows (about 5 cups)Must be fresh—stale marshmallows won't melt properly
- 1 teaspoon vanilla extractAdds warmth and enhances the marshmallow flavor
- 1/4 teaspoon fine sea saltBalances sweetness in the base layer
Instructions
Prepare Pan and Cereal
Line a 9x13-inch baking pan with parchment paper, leaving overhang on the sides for easy removal. Lightly spray with cooking spray. Measure out the Rice Krispies cereal into a large mixing bowl and set aside.
Make Marshmallow Mixture
In a large pot over medium-low heat, melt 4 tablespoons butter. Add marshmallows and stir constantly until completely melted and smooth, about 3-4 minutes. Remove from heat and stir in vanilla extract and 1/4 teaspoon fine sea salt.
Combine and Press
Pour the marshmallow mixture over the cereal and quickly fold together with a silicone spatula until evenly coated. Transfer to the prepared pan and use buttered hands or wax paper to press firmly into an even layer. Let cool for 30 minutes.
Make Salted Caramel
In a medium saucepan, combine sugar and water. Cook over medium-high heat without stirring until the mixture turns deep amber, about 8-10 minutes. Remove from heat and carefully whisk in warm heavy cream (it will bubble vigorously). Add 2 tablespoons butter, vanilla, and 1/2 teaspoon flaky salt. Stir until smooth.
Drizzle and Finish
Let caramel cool for 5 minutes to thicken slightly. Drizzle generously over the rice krispie treats and sprinkle with additional flaky sea salt. Allow to set for 15 minutes before cutting into 12 squares with a sharp knife.
Recipe Notes & Tips
Storage
Store in an airtight container at room temperature for up to 3 days. Place parchment paper between layers to prevent sticking. Do not refrigerate as this makes them hard and causes the caramel to crystallize. For longer storage, freeze without caramel for up to 2 months, then thaw and add fresh caramel before serving.
Serving Suggestions
Serve at room temperature for best texture. These are rich, so cutting into 12 generous squares or 16 smaller pieces works well. Pair with vanilla ice cream for dessert, or serve alongside coffee for an afternoon treat. They're also excellent crumbled over ice cream or yogurt parfaits.
Variations
Chocolate Lovers: Stir 1/2 cup chocolate chips into the warm marshmallow mixture. Peanut Butter Twist: Swirl 1/4 cup creamy peanut butter into melted marshmallows. Brown Butter Version: Brown the butter before melting marshmallows for nutty flavor. Espresso Caramel: Add 1 teaspoon instant espresso powder to the caramel for mocha notes.